Clash-verge is a cross-platform proxy tool for Mac devices that helps you protect your privacy while browsing the web and bypass locale restrictions. Here are the detailed steps to use Clash-verge.
Step 1: Download Clash-verge
First, you need to download the latest version of the application from the official Clash-verge website. You can go to the following URL to download.
Please note that you need to download the Mac version of Clash-verge.
Mac (Intel version) download file name similar to
Clash.Verge_x.x.x_x64.dmgMac (M1/M2 version) download file name similar to
Clash.Verge_x.x.x_aarch64.dmg
Step 2: Install Clash-verge
After the download is complete, you can install Clash-verge by following these steps:
1. Open the downloaded Clash-verge installation file.
If you are prompted with "Can't open the app because it's from an unknown developer," please refer to the official Apple Help documentation.
2. Drag the Clash-verge application into the "Applications" folder.

Step 3: Configure and start using Clash-verge
Open Clash-verge in the "Applications" section.
Note that if you are prompted with a corrupt installation, open the Terminal and enter the following command (If prompted for a password, enter the boot password.).
sudo xattr -r -d com.apple.quarantine /Applications/Clash\ Verge.app
Next, do the following configuration:
Next, do the following configuration:
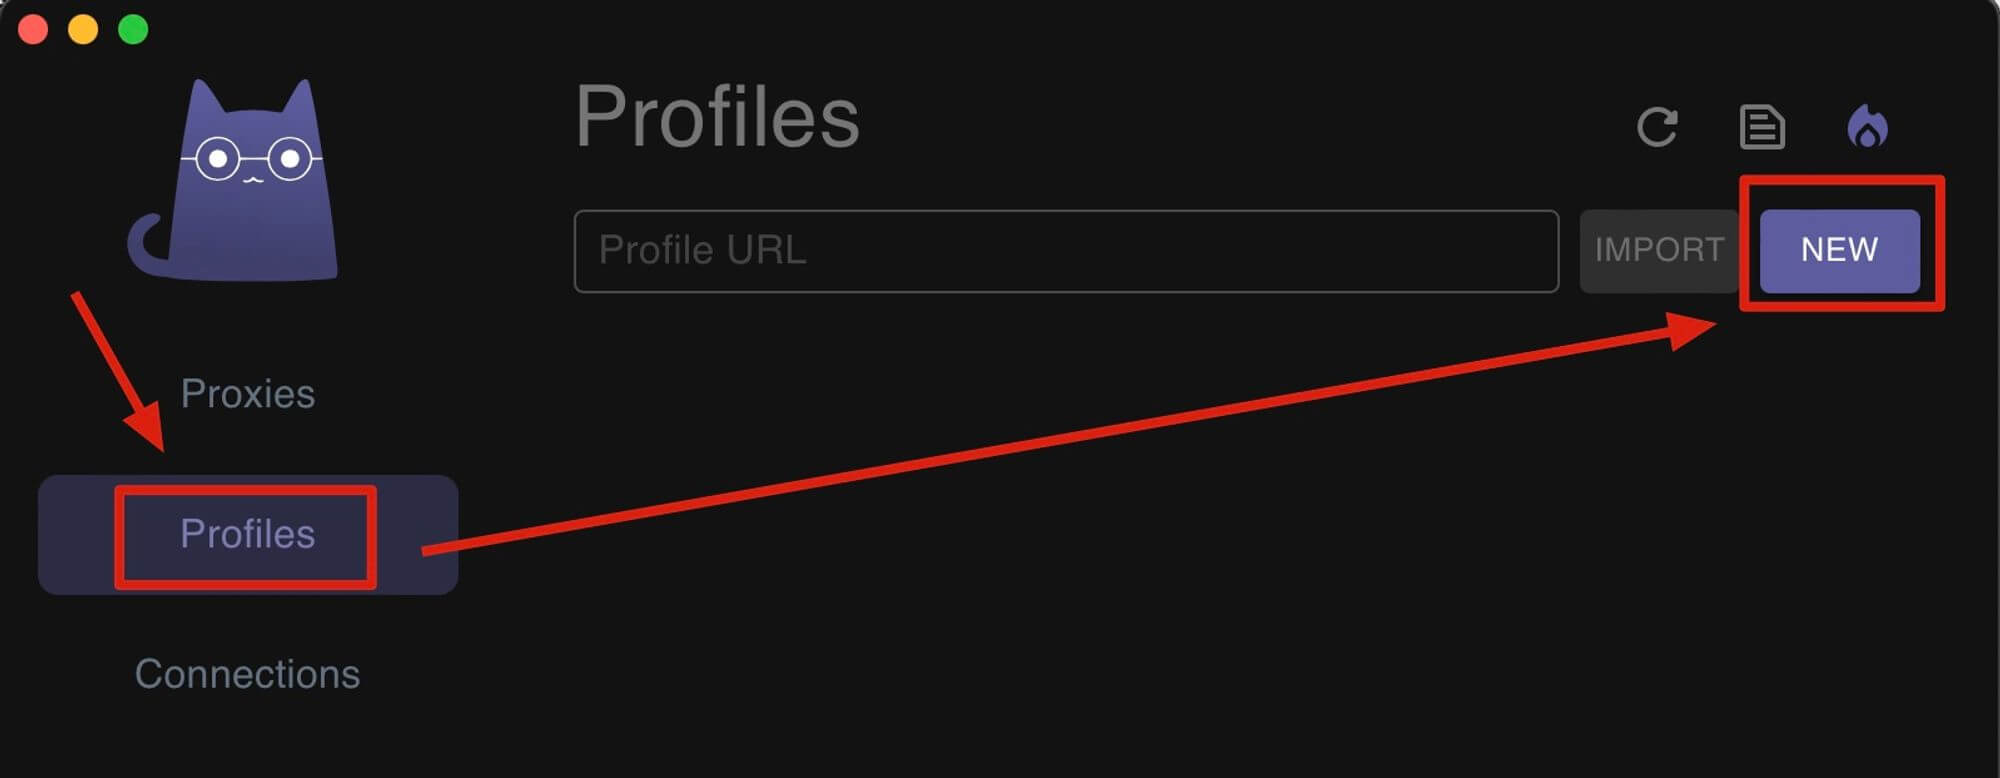
1. On the main Clash-verge panel, click Profiles on the left and click New.
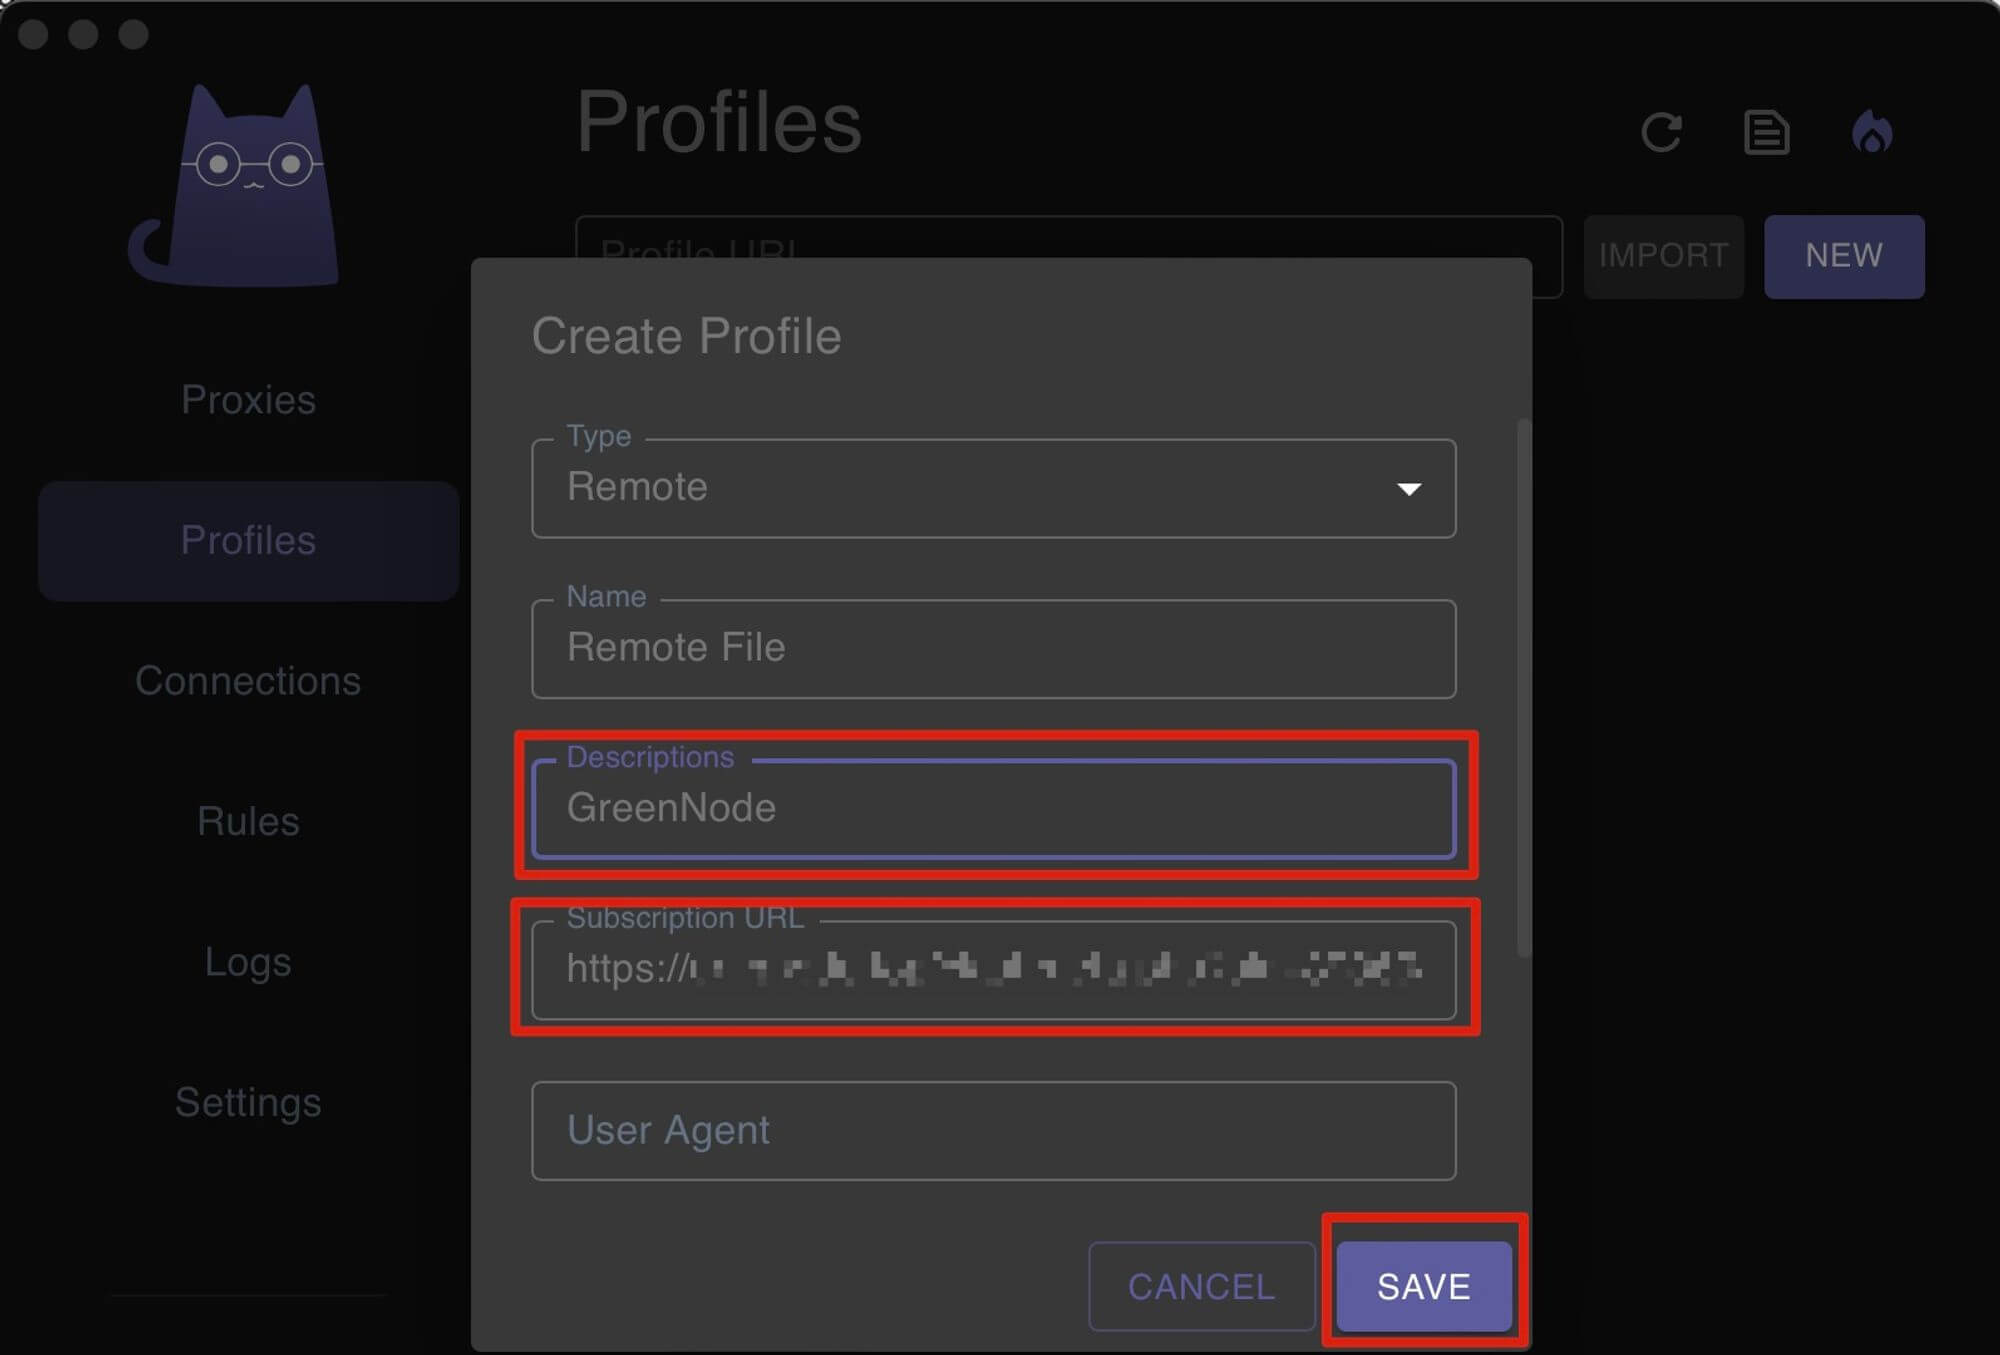
2. Descriptions Fill in any of the names to identify them in the case of multiple Profiles;
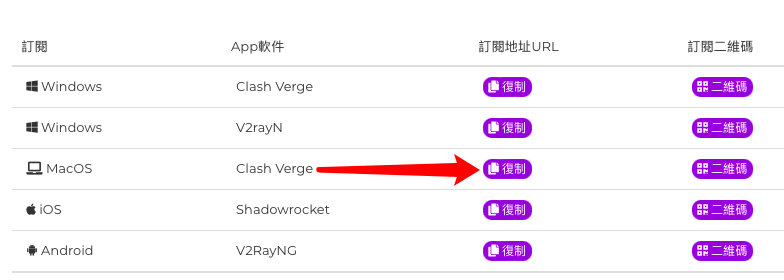
3. open our website and login, go to the service details page, find the Clash-verge subscription address and click copy;
4. go back to Clash-verge's Create Profile interface, paste the URL you just copied into the Subscription URL, and click SAVE to save.
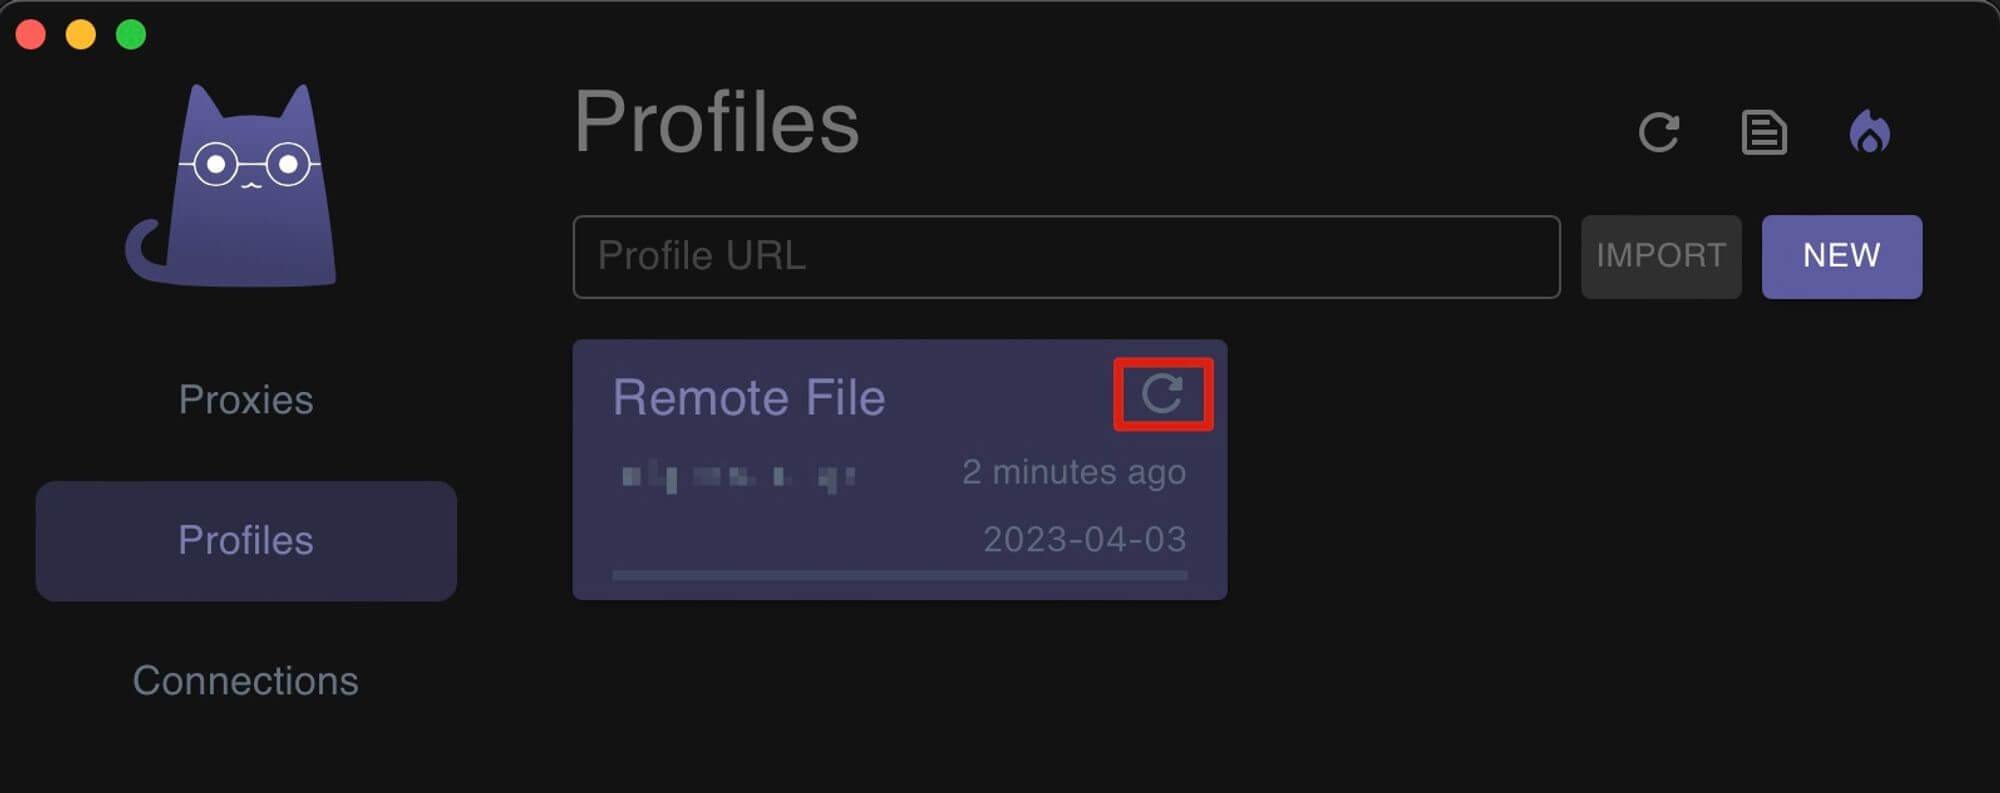
5. At this point, the subscription address has been added, you can click the Refresh button to update to the latest configuration, and you need to click the desired profile, so that the icon becomes blue.
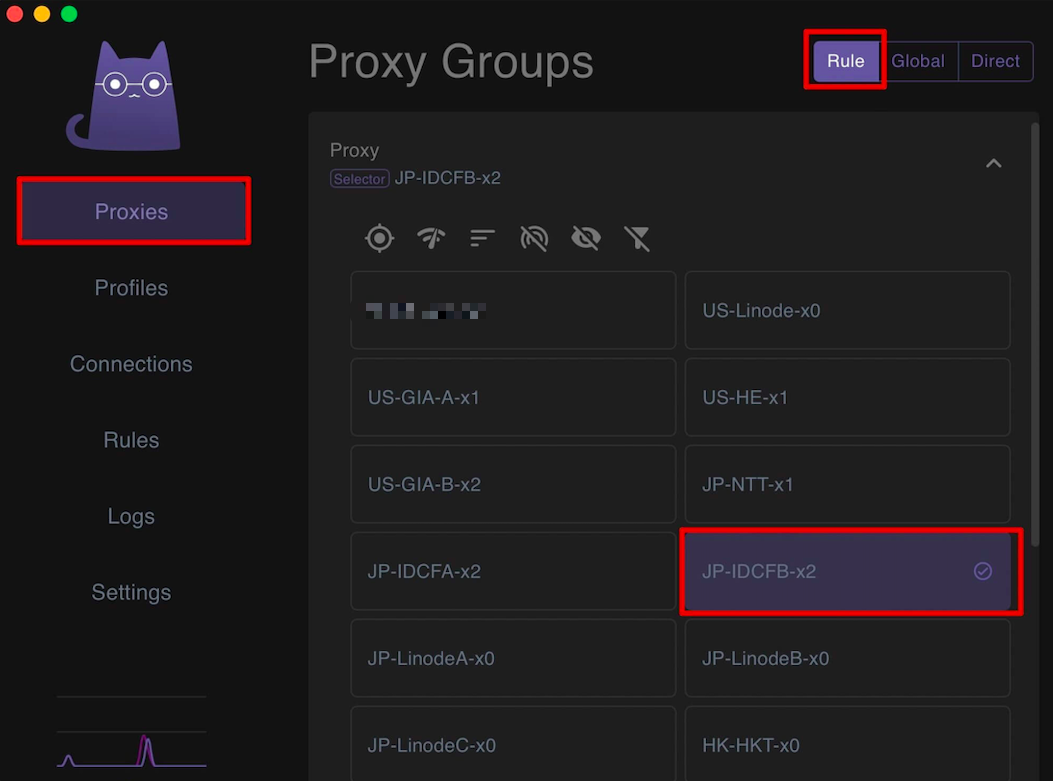
6. enter Proxies on the left, select Rule mode on the right, select any node on the bottom, blue is selected;
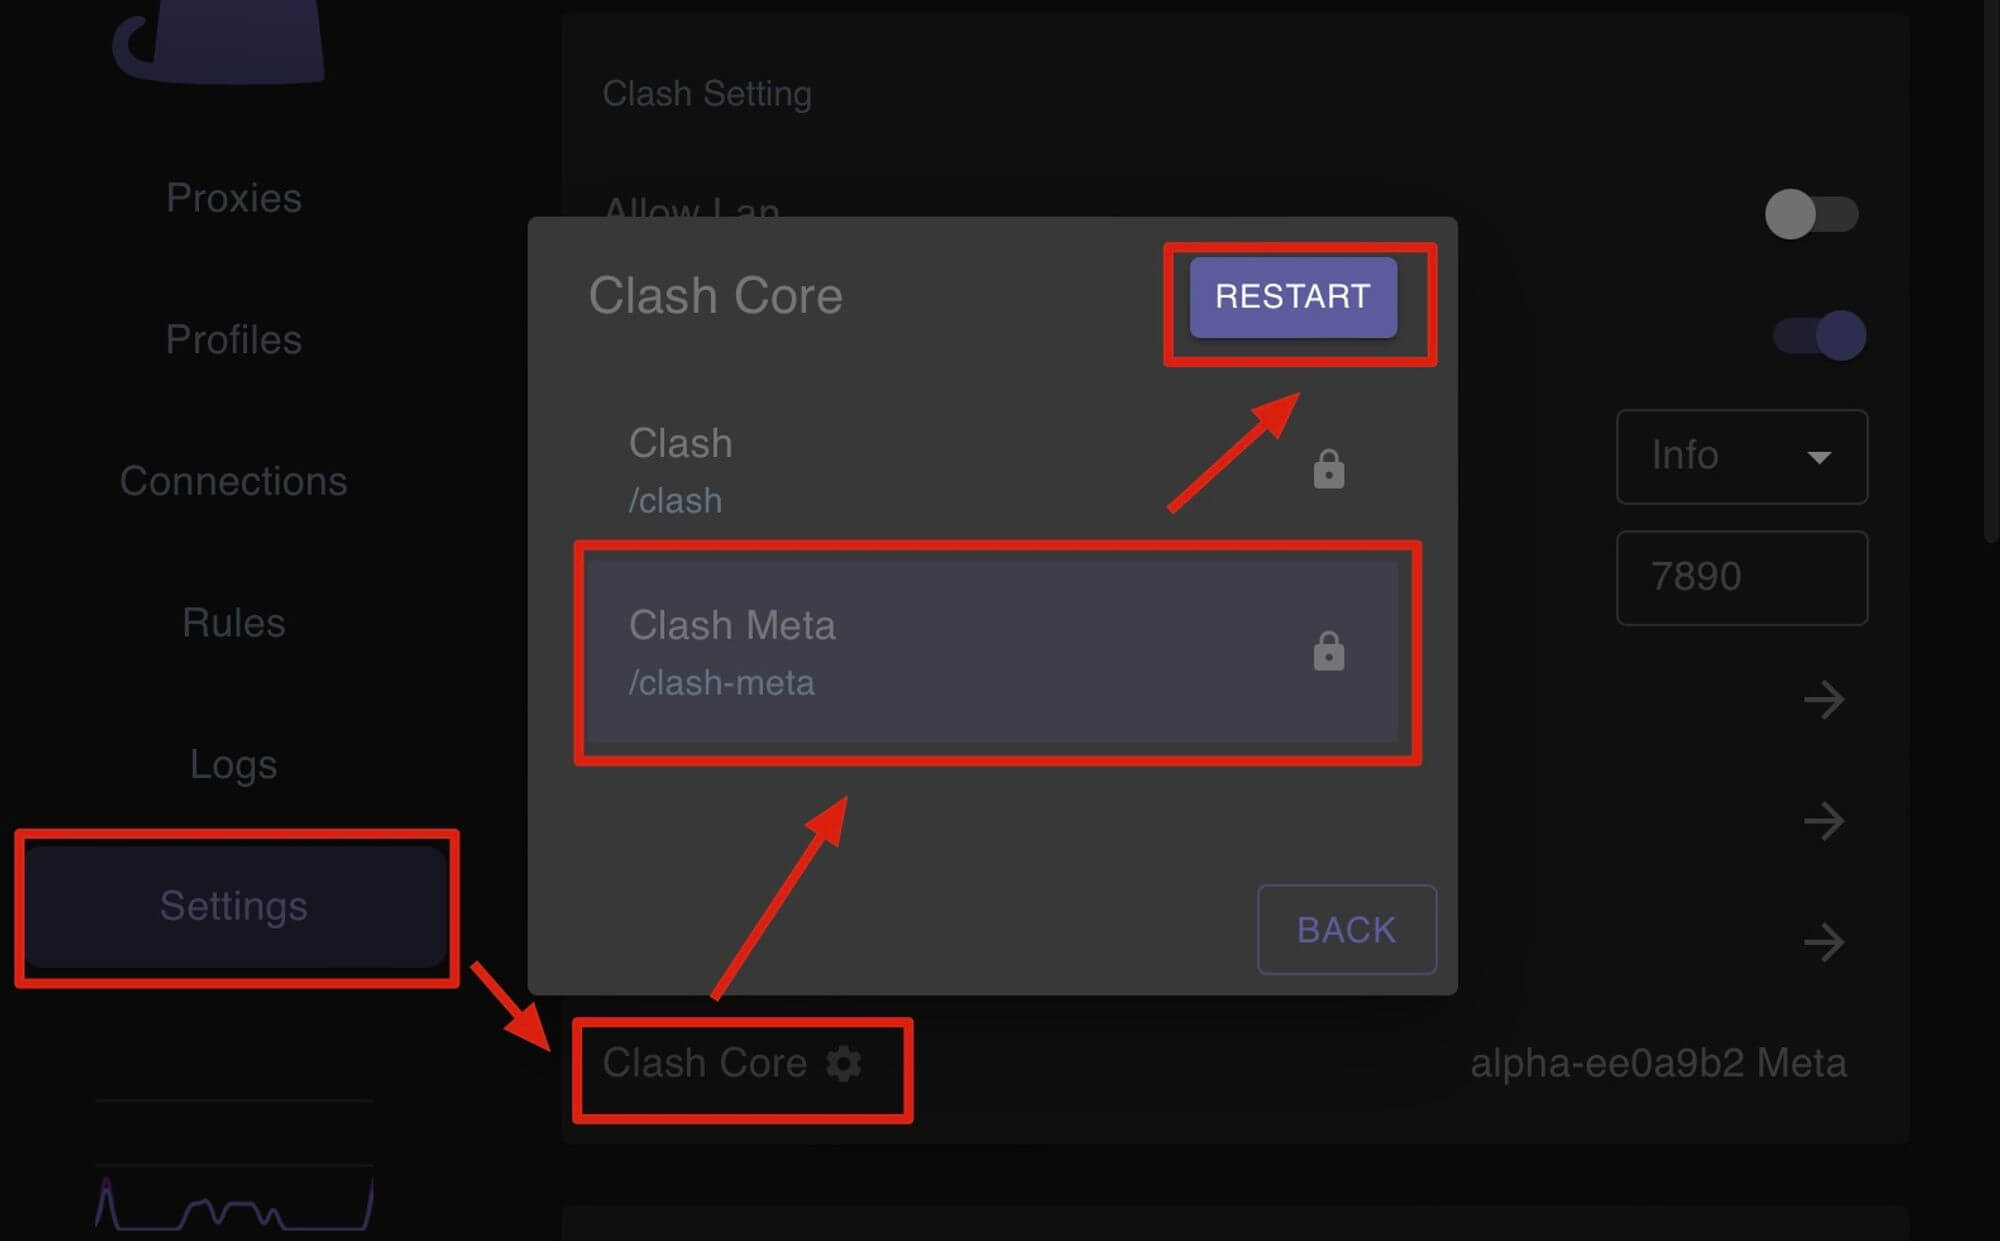
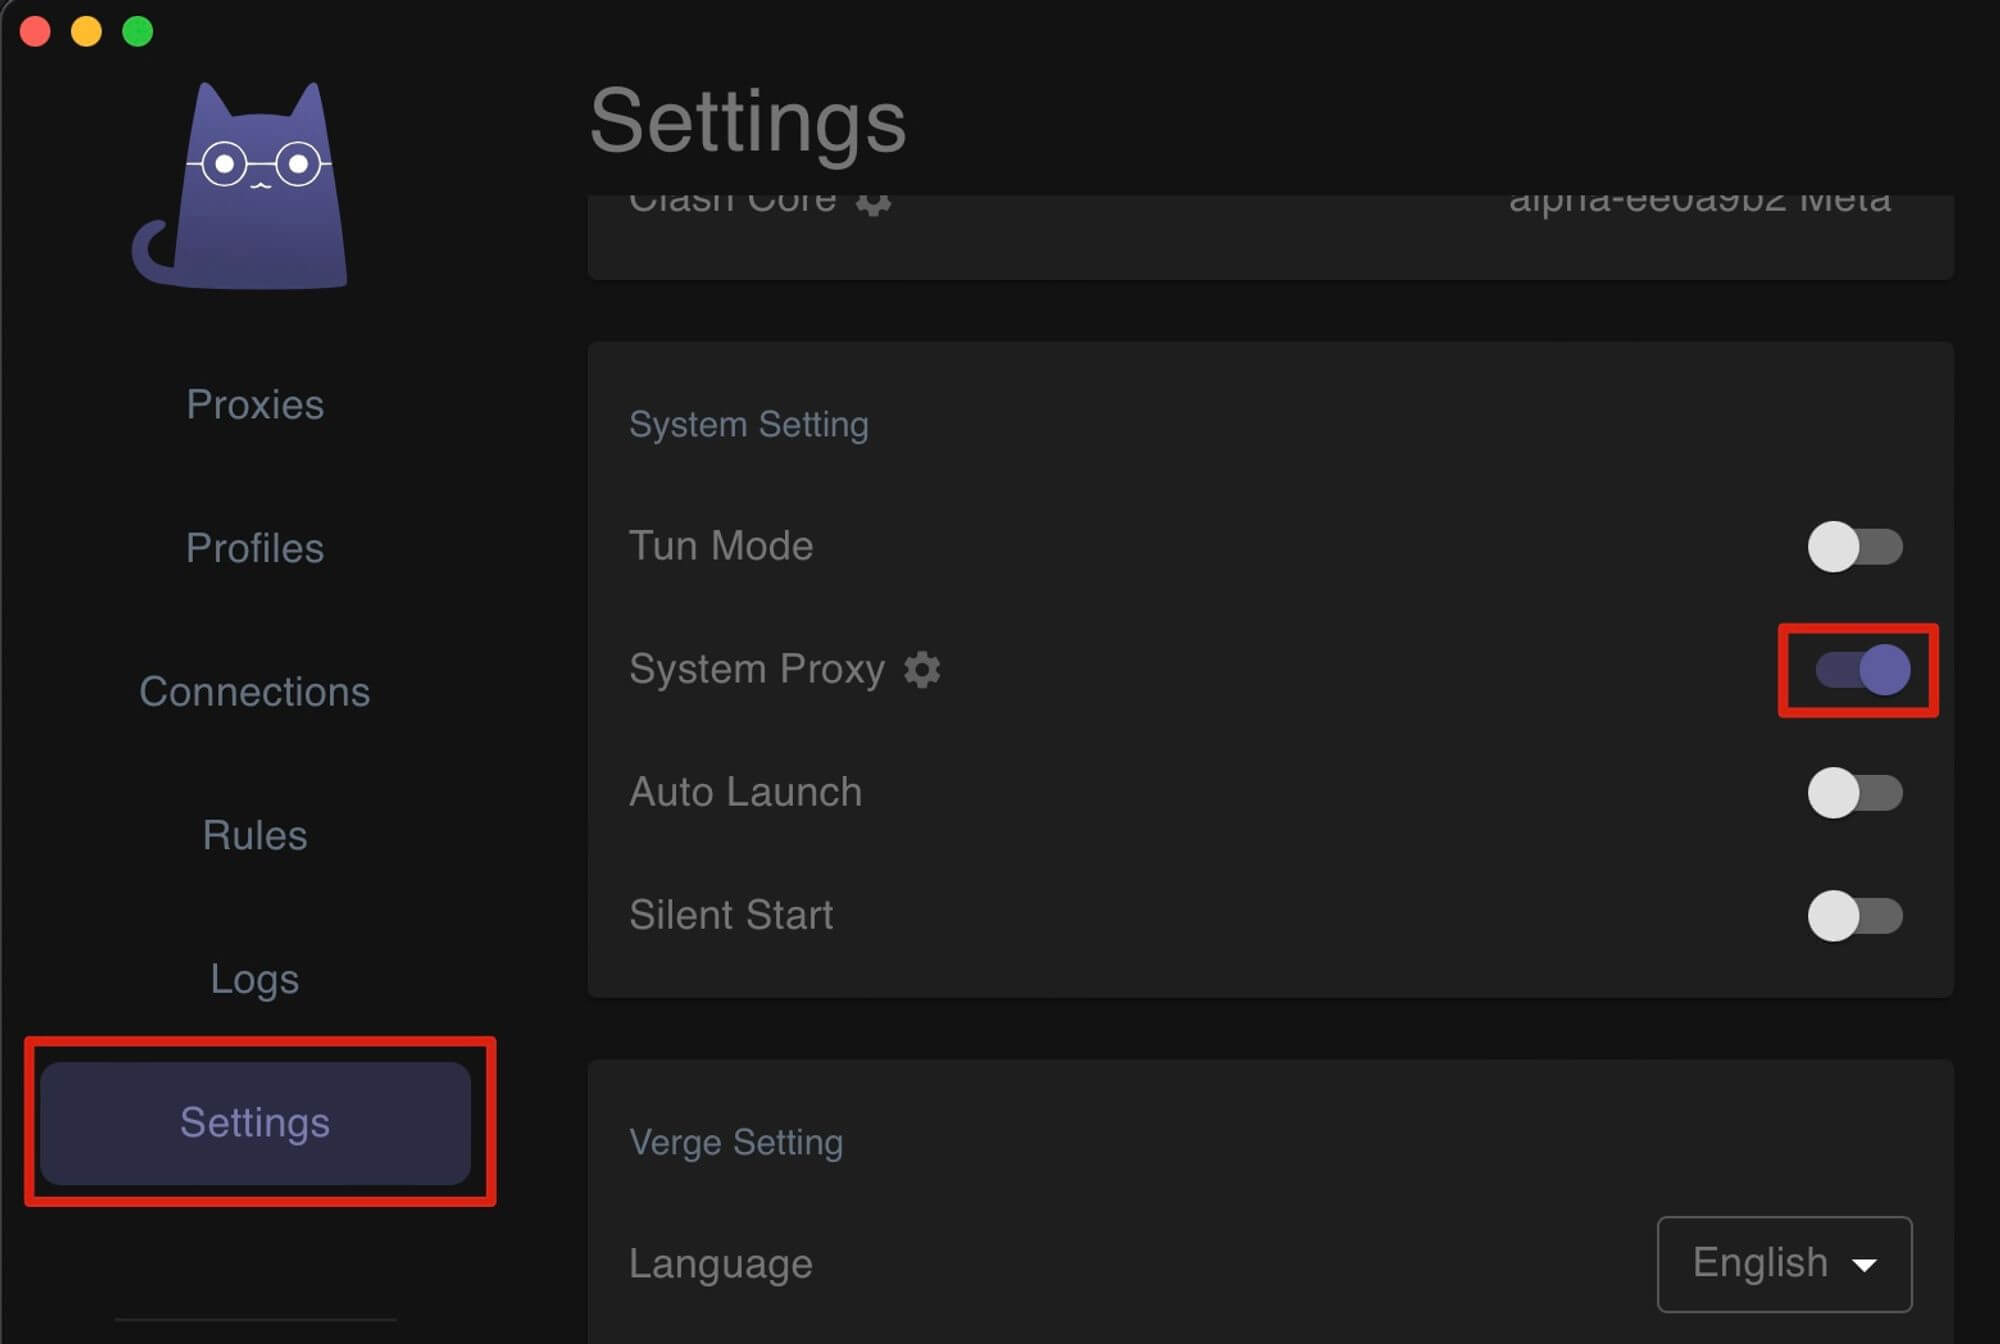
7. Select Settings on the left, and slide it on at System Proxy. This is the proxy Turn On/Off.
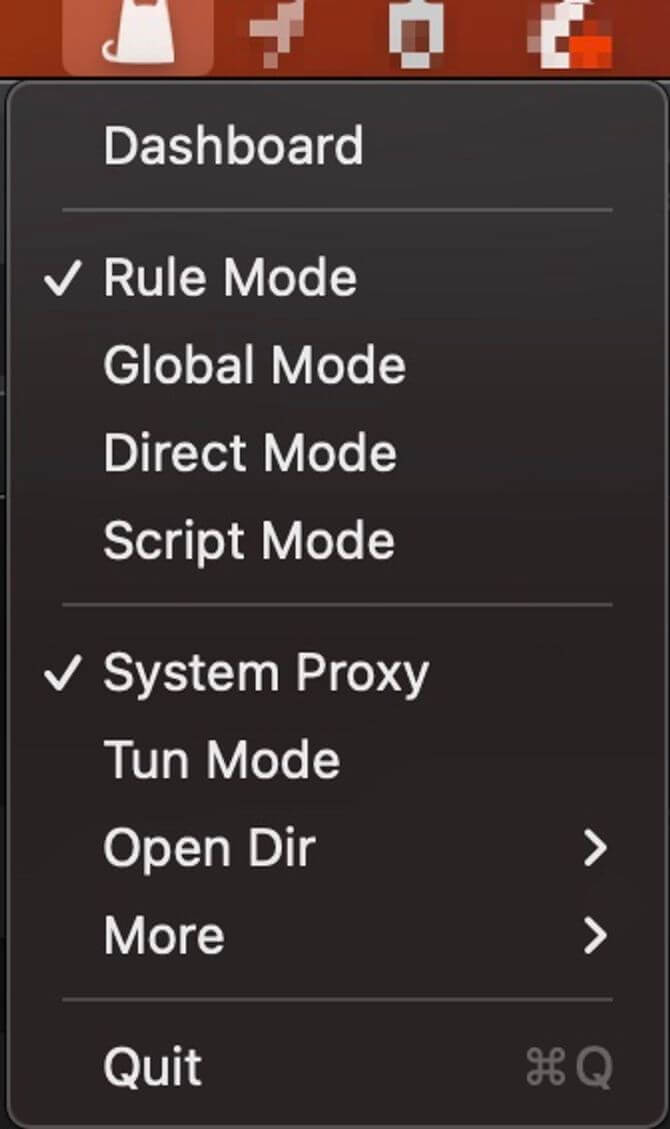
You can also right-click on the small icon in the menu bar above to bring up the shortcut menu to turn it on and off.
Now you have successfully configured Clash-verge and are ready to use it.
If you have problems configuring your subscription, feel free to contact us via the worklist.
If you encounter problems with the software, such as the software not installing/the software running process shutting down unexpectedly, etc., go to the project address to submit issue feedback.
Hope this Clash-verge on the Mac use tutorial to help you!